How to Turn Your Website Into an Android App (Step-by-Step Guide)
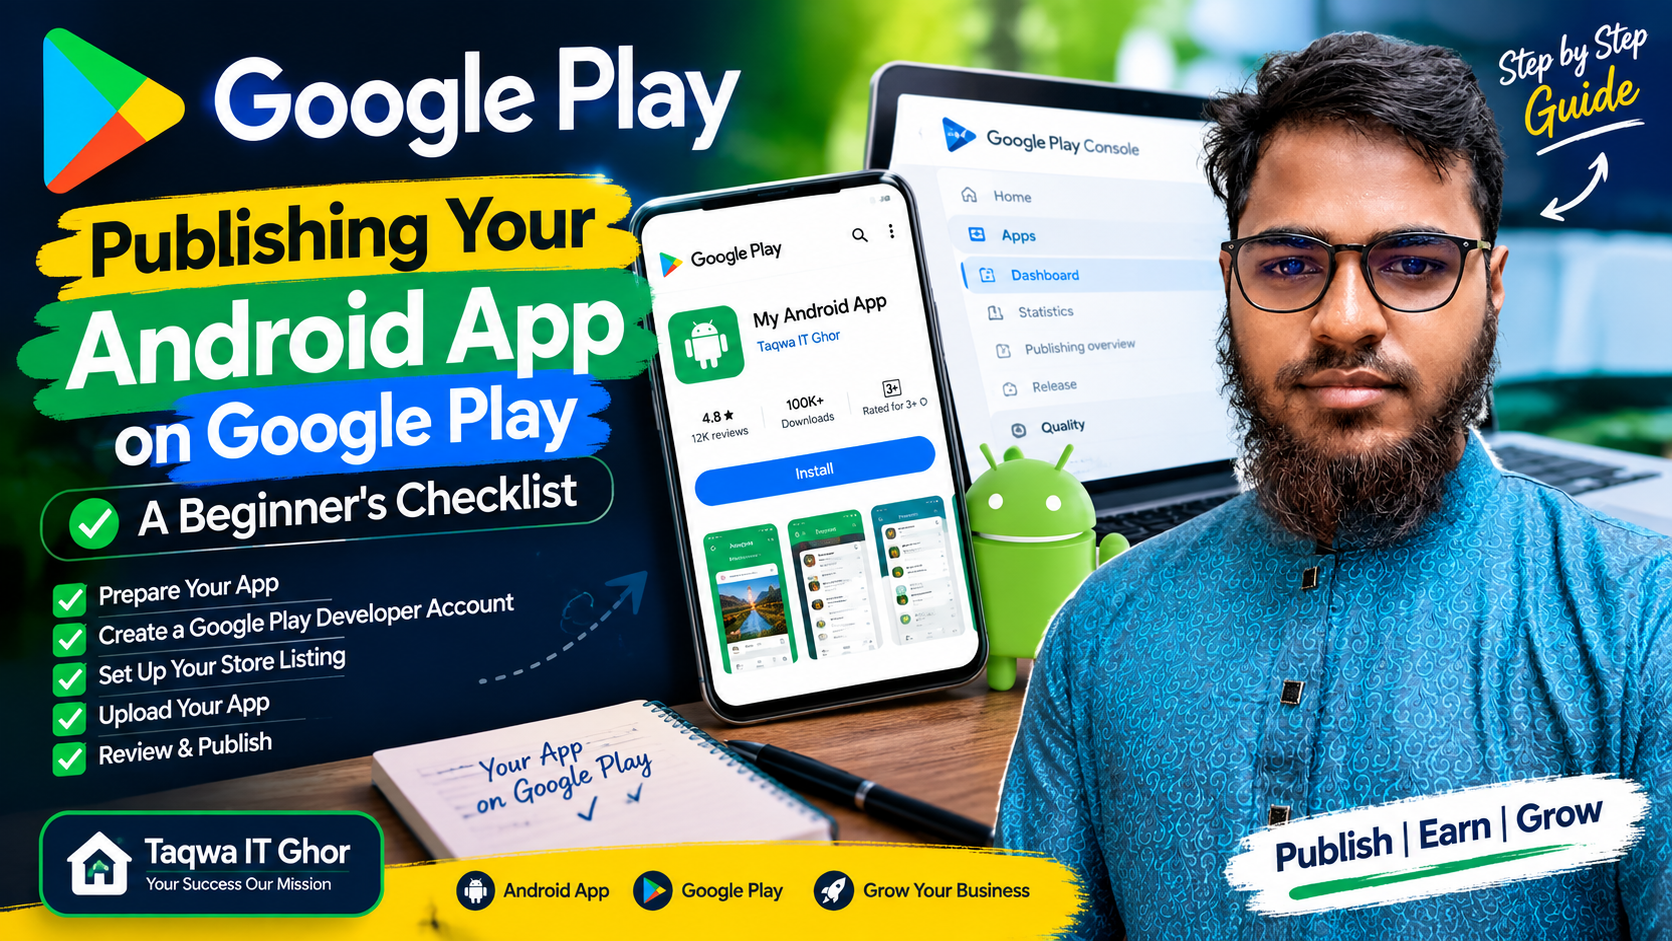
If you already have a website, you are closer to having an Android app than you might think. Millions of people spend most of their phone time inside apps, and an icon on the home screen is a much stronger reminder than a browser bookmark. The good news: you do not need to learn Kotlin or Java to get there. A website can be wrapped into an Android app, usually called a WebView app, in a few minutes.
What is a WebView app?
Android includes a component called WebView, which is essentially a browser engine that can live inside an app. A WebView app is a small Android application whose main screen loads your website. Because the content comes from your site, every update you publish appears in the app instantly — there is nothing to re-submit for a simple text or design change.
What you need before you start
- A live website with HTTPS. The address should start with https:// and load quickly on a phone.
- An app name. Keep it short, easy to spell and the same as your brand.
- A logo. A square PNG of at least 512×512 pixels works best; transparent backgrounds look great.
- A brand colour. It is used for the status bar and the loading screen.
Step 1 — Check your site on a phone
Open your website on your own phone. Can you read the text without zooming? Are the buttons big enough to tap? If not, fix the mobile layout first, because an app will only ever be as good as the page inside it. We cover this in detail in our guide on making a website mobile-friendly.
Step 2 — Enter your app details
In the builder you type the app name, your website address and choose a package name (for example com.yourbrand.app). You then upload your logo and pick colours. Optional screenshots can be added for the download page of your app.
Step 3 — Choose the behaviour
Decide how the app should feel. Common options are pull-to-refresh, fullscreen mode, offline message when there is no internet, and permission for file uploads or downloads. Turn on only what your site really needs — fewer permissions make users trust the app more.
Step 4 — Build the APK
Press the build button. The platform prepares your icon and splash screen, injects your settings into an Android project and compiles a signed APK file. A small WebView app is usually only a few hundred kilobytes, so building and downloading is quick.
Step 5 — Install and test
Download the APK on your phone, open it and allow "Install unknown apps" for your browser if Android asks. Then check the basics: the icon, the app name, the splash screen, logging in, forms, payments and the back button. Test on at least one older and one newer phone if you can.
Step 6 — Share it
Every build gets a public download page and a short link that you can share on social media, WhatsApp or your own site. Visitors see your icon, name, size and version before they install.
Common mistakes to avoid
- Using a logo with a lot of tiny text — it becomes unreadable at icon size.
- Forgetting that external links (for example payment pages) may open outside the app.
- Changing the package name after publishing — Android treats it as a completely different app.
Turning a website into an app is not a replacement for a great site, but it is one of the fastest ways to put your brand on your customers' home screens. Start with a simple version, collect feedback and improve from there.
Comments (0)
No comments yet. Be the first to comment!